
Jack Michaud
2025
Good binding setup is crucial for comfort, performance, and enjoyment. Bindings are adjustable or configurable for lift and cant. Lift means raising one end of the binding up – either the toe end or heel end. Cant means raising the left or right side of the binding. Generally it is more comfortable for most people to ride with toe lift on your front binding and heel lift on your rear binding. Inward or outward canting is more of a personal preference. If you don’t know, start with zero cant and experiment from there. Here is a detailed article on that subject.
Stance width
Stand on the floor in bare feet and measure from the floor to the center of your kneecap. Mount your bindings this far apart, measured center to center. You can adjust/experiment from there.
Binding placement
Start with your front binding centered on the center set of the front inserts. Place the rear binding to achieve your desired stance width. If you cannot achieve your desired stance width this way, use different inserts. If the board feels too twitchy while riding, move both bindings back a little, about 1cm. If the board feels too sluggish, move both bindings forward. The further forward you place your front foot, the more responsive the board will be, because you are pressuring it further out on the flare of the sidecut. This may sound like a good thing but you can go too far.
Sizing
Adjust the sizing such that the boot is centered over the binding. There is a center mark on the boot shell. With standard toe-clip bindings, It should take significant effort to open and close the binding when it is sized properly. You should not be able to roll the boot in the binding and create gaps between the sole and the binding. With Intec step-in bindings, you will need to micro-adjust the bindings to achieve as little play in the heel receiver as possible. With Fintecs, you want the heel pins to be as far forward in the receiver slots as possible. With Intecs, you want the heel pins to be as far rearward in the receiver slots as possible.
Binding angles
If you already know how to make deep carves, angle both bindings such that no part of the boot or binding protrudes beyond the edge of the board when viewed from above. We call that overhang. If this results in parallel angles, you’ll probably want to angle the front binding 3-5 degrees higher. If you are just getting started with carving, you can tolerate a little overhang.
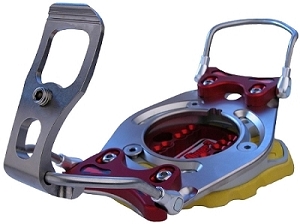
Bomber Bindings
You can rotate the Bomber cant disk relative to the binding angle to achieve different blends of cant and lift. If you align the cant disk with your binding angle, you will have only lift. If you align the cant disk with the long axis of the board you will have lift and some inward cant. Bomber’s instructions are helpful for the rest of the setup.
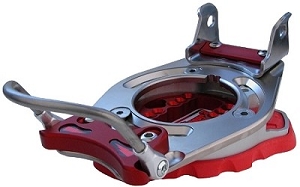
F2 Bindings
F2 sizing is achieved by spinning the bolts in the ends of the toe/heel blocks. Do not strip these bolts, use a #3 Pozidriv screw driver. An electric drill/driver is helpful here. If you absolutely cannot get a Pozidriv in time, a #3 Phillips mostly works, but be careful. DO NOT use a #2.
F2s come with cant shims installed under the toe and heel blocks. They are thin and kind of hard to see. You may or may not want to remove them to get started. Having no cant is pretty common these days, but it is personal preference. I use inward cant on my front binding and no cant on my rear binding. To remove the toe/heel blocks, spin the sizing bolts until the screws under the top of the block are exposed.
F2s also come with one lift kit. When buying F2s you should buy an extra lift kit. If you did not, I would recommend installing the one you have under the toe block of your front binding. Boots have a lot of forward ramp angle (high heel) built-in, so it’s more comfortable if you offset it with toe lift on the front binding. Order another lift kit if you don’t have two.
With two lift kits, install the other one under the heel of your back binding. Riding with toe and heel lift is simply more comfortable. If you don’t have both you may need to use a narrower stance width.
Donek has a great F2 setup video here.
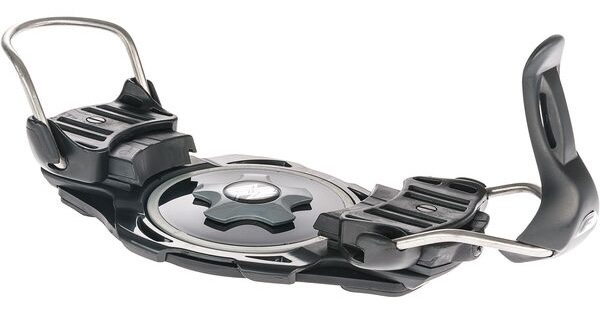
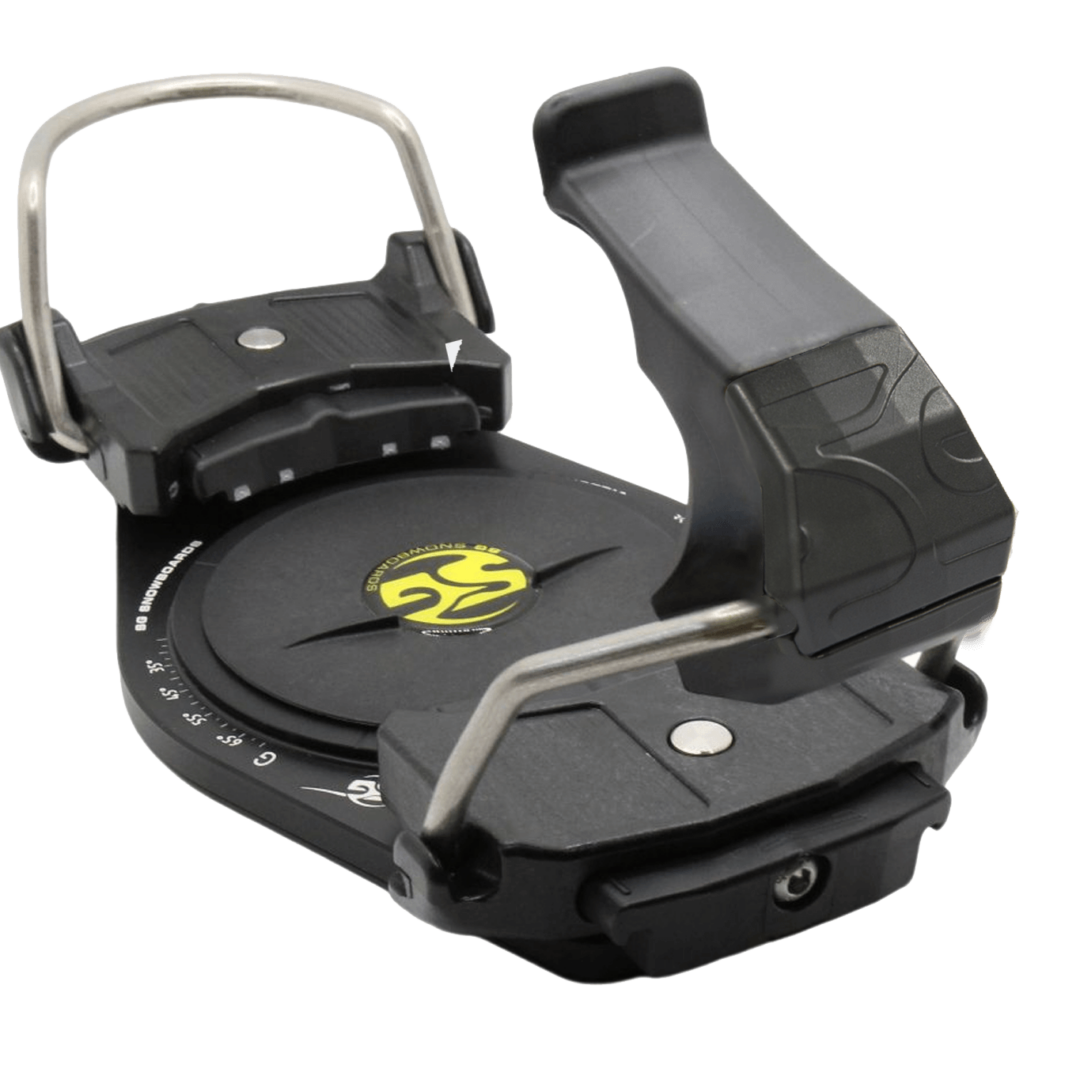
SG Bindings
These have similar sizing mechanisms, cant shims, and lift kits as F2s, except they use 4mm Allen bolts. SG bindings are stiffer than F2s but not as stiff as Bombers.
Mountain Slope Boots work best with the optional lower heel bail for F2 and SG bindings.
After trying this setup, if it’s still not quite right, check out this article.