Jack Michaud
2025
Congratulations, you are about to embark on the most fringe/alternative/counterculture journey in all of snow sports. That’s so cool, right? Translation: only 3 outfitters rent or sell hardboot alpine snowboarding equipment in physical locations in North America. If you’re not near them, you are probably going to have to borrow gear from a friend, or brave this wild frontier online. Either way, we are here to help. Good news, you don’t have to buy everything all at once.
Why bother with hardboots and alpine boards at all?
It’s true that if you live somewhere with frequent good snow, it may not be necessary. But hardboots and alpine snowboards are capable of the highest performance of all – the most edge grip, power, and speed on firm and/or steep groomed conditions. This is proven by the fact that World Cup and Olympic snowboard racing is done with hardboots and alpine boards. Believe it or not, a properly fitted pair of hardboots with molded liners and good footbeds can be more comfortable than softboots, even for all-mountain riding.
Step 1: Be able to carve your downhill edge on your existing equipment
If you’re looking for the ultimate carve, before you buy anything, you’ll have a much easier transition to hardboots if you can already carve well in your softboots. Carving is the act of using only the sidecut of the board to make a turn, slicing a clean line into the snow. No skidding, no steering, no pivoting. Can you carve a turn, change edges before the board points downhill, and carve the new edge (the downhill edge) all the way around cleanly without falling, skidding, or steering? Can you link carved turns like this back and forth all the way down an easy trail? That is the test to see if you’re ready for hardboots. If you can’t, practice The Norm until you can. Then come back here.
Step 2: Posi/Posi
You won’t be able to do step 1 for long if you have any boot or binding overhang past the edges of your board. Fixing this typically means angling both your bindings forward so you don’t have any overhang. That’s ok because better carving technique usually involves a more forward facing posture. Get used to riding and carving posi/posi in your softboots. Alpine snowboarding in hardboots is practiced with narrower boards (about 20cm at the waist) and binding angles north of 50º. If you absolutely cannot adapt to posi/posi in your softboots, or if you plan on carving switch, you can buy a wider board and follow the Ryan Knapton school of duckfoot softboot carving.
Step 3: Find Gear
When it comes time to acquire the gear, you have a few options:
- Buy used equipment from our classifieds, Alpine Snowboard Trader, Facebook Marketplace, or eBay
- Buy new equipment from the various manufacturers online
- Rent gear from Carving Crew Rentals in Utah
- Buy new or new-old-stock equipment from Carving Crew Rentals, UPZ Boots, Donek, Bomber, or YYZCanuck
- Buy new or new-old-stock equipment from European retailer i-carve.com. They can ship to North America economically.
- Attend the Montucky Clear Cut, demo gear and hang out with other carvers.
- Go to USASA Nationals at Copper Mountain and demo alpine gear from the Donek tent.
If you can’t make plans to be in Utah, Montana, or Colorado, you’re going to have to open your wallet and buy gear. It will be tempting to buy the cheapest gear you can find, but you will have a much better experience with better/newer gear, and a much easier time selling it if you outgrow it or decide this sport is not for you.
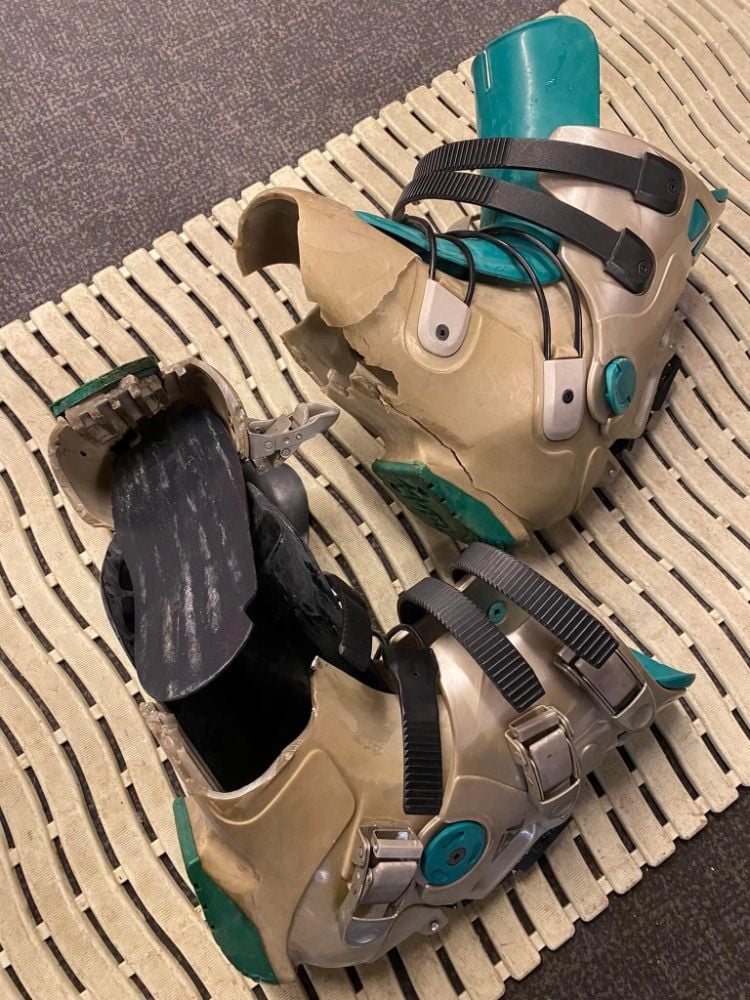
“Vintage” Gear – you will see cheap gear for sale that was made decades ago. These materials have finite lifespan, even when not in use. And just because an old board still has camber doesn’t mean it’s worth a damn. The technology has progressed significantly, especially since the 2000s. Newer boards are much easier to ride, and more performant. Here’s why. With boots and bindings, age becomes a safety issue.
Step 4: Buy hardboots and plate bindings
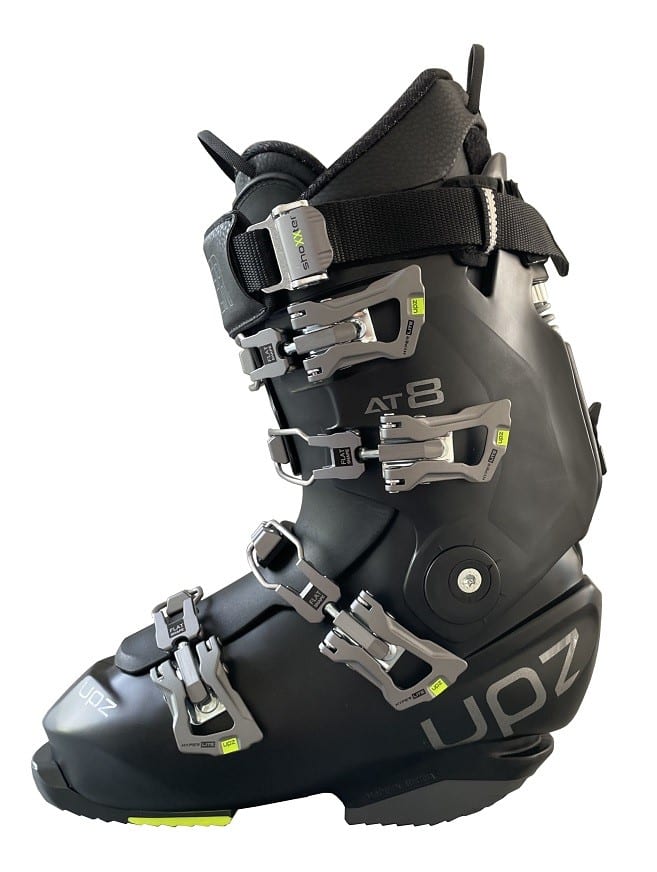
You can use these with your existing freeride board to get started. Here are articles on boot buying and binding setup. A good first freecarving hardboot is the UPZ AT8 for light to average weight people, the UPZ XCR for lighter people, or the Mountain Slope .951 Standard or UPZ RC12 for heavier people, racing, or more experienced carvers. Molding the liners to your feet is absolutely essential.
A good first binding is the F2 Race Titanium if you are average to light weight. These are not nearly as stiff as they sound. Be sure to buy an extra lift kit. They only come with one, we recommend two. SG bindings are similar but stiffer and better suited to heavier or advanced riders. Bomber bindings are very durable and adjustable, but stiffer than SGs. They are all metal except for the elastomer damper.
Once you have hardboots and bindings, you can use them on your existing board and try carving again on easy slopes. If you don’t like it, then you can sell the boots and bindings and be done. If you take a loss, call it a rental fee. However if you feel your board is holding you back, then it’s time to shop for an alpine snowboard. Of course if you know you want to dive into alpine, you can certainly buy the board, boots, and bindings at the same time.
Step 5: Buy an Alpine Snowboard
Generally, you want one as tall as your face. No shorter than your chin, no taller than your forehead. Most stock alpine boards have settled on a waist width of about 20cm. This is good for boot sizes up to about Mondopoint 28.5 or US size 10.5. If your feet are bigger than that you may want to look for wider waists like 21 to 23cm.
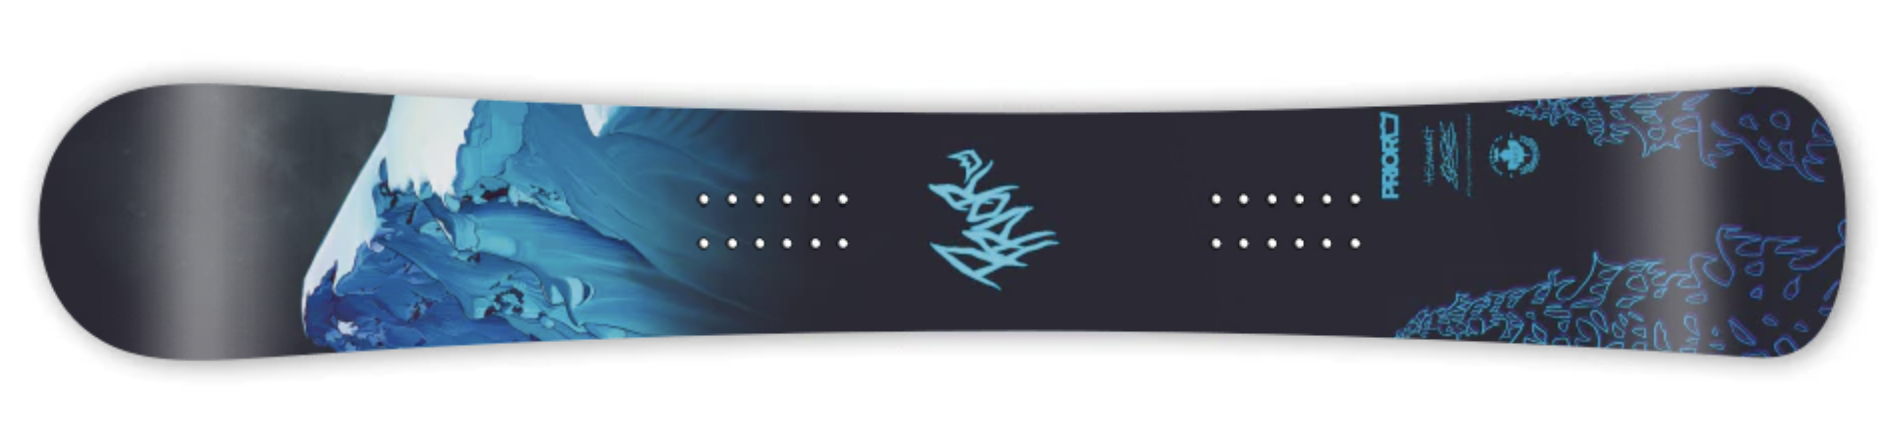
Some examples of wider boards include the Prior 4WD, F2 Silberpfeil Vantage, SG Full Carve 163XT, SG Full Race Titan 163XT, or the Swoard Extreme Carver. Or you could go with a Boardercross style board like the F2 Eliminator or Kessler X-Carve for even more width. All of the North American manufacturers offer full customization.
A few examples of boards. Pictures not to scale:


Sidecut radius determines how tight or wide the board will naturally make a carved turn. For your first alpine board, sidecuts from 10m to about 12m are a good choice as they will allow you to make round fully carved turns at lower speed. This number is the average radius of the curve in the side of the board. Technically it is slightly longer than the longest turn a board can purely carve. As you tilt the board up higher, the sidecut and flex allow the board to bend more, and the turn radius decreases.
Good board brands available in North America are Donek, Jasey Jay, Prior, F2, Thirst, Trench, Liberation, and Winterstick. You can also order European brands like Kessler, SG, Oxess, Apex, and Virus through i-carve.com. Coiler are excellent snowboards still available on the used market, but they have recently stopped taking new clients.
Used boards to look for: Any of the above brands. If your budget is very limited, the best “vintage” boards to look for are F2, Oxygen, Nidecker, and Volkl. Madd snowboards were special, but very narrow. Avoid Burton, Rossignol, Hot. They are simply too old and outdated at this point.
If you are looking at buying somebody’s used custom board, make sure your weight is within the same ballpark as theirs. Ask them if the board is softer or stiffer than normal for their weight.
If you’re ever unsure about any equipment you’re about to buy, feel free to ask about it in Carving Central.
Step 6: Carve!
Assuming you don’t have access to an alpine snowboard instructor, you should start by practicing The Norm again on your new gear. It will take some time to get used to the new stance and equipment. Or maybe it won’t. If you are a proficient carver on softboots, you might take right off on hardboots. Either way, you will probably want to spend some time on the easier trails to get accustomed to it and build skills. Check out the rest of the Tech Articles, and ask questions in the Carving Central forum if you need advice. Good luck!
What if I’ve never snowboarded before?
It is possible to start snowboarding from day one in hardboots, believe it or not. Maybe you know this is what you want to do, or maybe you’re a curious skier. Most ski boots are not recommended, but some can work okay. The best ski boots to snowboard in are 3 piece boots like the K2 Revolve (formerly Full Tilt), or the Dalbello Cabrio. If you don’t have 3 piece boots, your ski boots might work if they are softer, like 110 or less. However all ski boots have significantly longer sole length than the same size snowboarding hardboot. This will push you into higher binding angles to avoid boot drag.
For day one, rent a “normal” snowboard, mount it with your bindings, use your hardboots, and take a lesson. If you can spring for a performance demo of a nice board rather than the bulk rental shop stuff, that would be better. Or if you’re intent on buying a board, try to get something recreational, with a rounded tail – a “freecarve” board. Do not attempt without a lesson. Beginning snowboarding is harder than it looks and there are secrets you need to be told that aren’t obvious. A two hour lesson saves you at least two days of floundering around on your own.